Learn How To Make Plarn With These Few Simple Steps
If you’re looking for cool new ways to upcycle those unused plastic bags, why not use them for crafting? Some crafty people online shared the newest DIY material: plarn. Creating plastic yarn (plarn) is an process. Or, should we say processes, since there are several ways to do it!
In this review, you will discover how to prepare the bag and three alternatives to cutting it up into different strips. With the correct information, making these accessories should be easy and fulfilling enough for you.
Essential materials include plastic bags and a pair of scissors. No matter which method you use, they all start the same way. First, lay your bag flat so that both side flaps are folded to form a rectangle. Then, trim off the top of the bag where the handles are as well as the bottom centimeter.
Version 1: The Hula
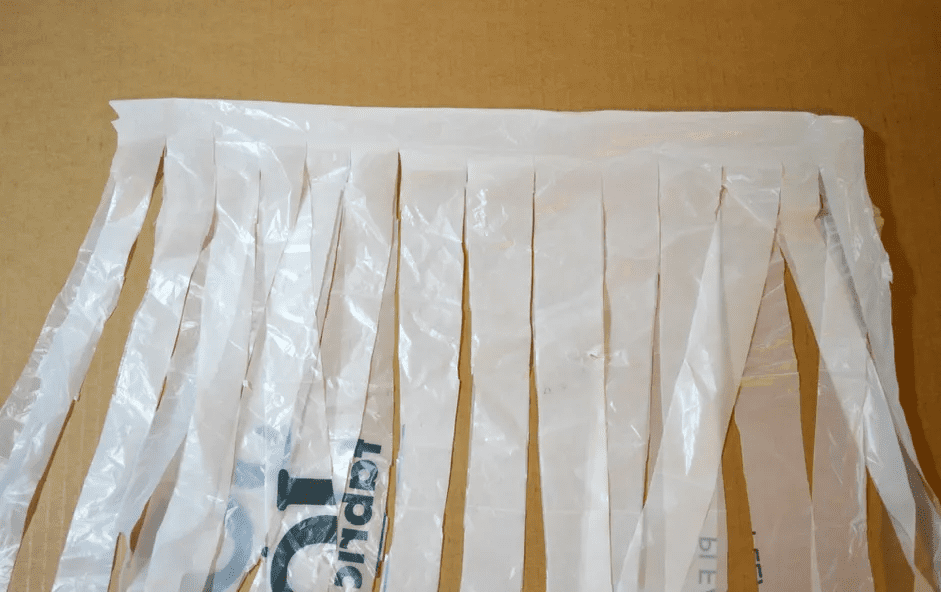
Leave the bag in two layers and turn it so that the closed ends are at the top and bottom, and the slots are on each side. Cut the bag into even strips, like you’re making a hula skirt. Don’t cut all the way through to the end! Now, unfold the bag so you have the loops accessible. Cut diagonally across each loop. This will give you one, long piece to work with.
Version 2: Freehand
To achieve the same result, open the bag after you’ve made the first two cuts. Then, try to cut evenly as you spiral diagonally down to the end of the bag.
Version 3: Loops
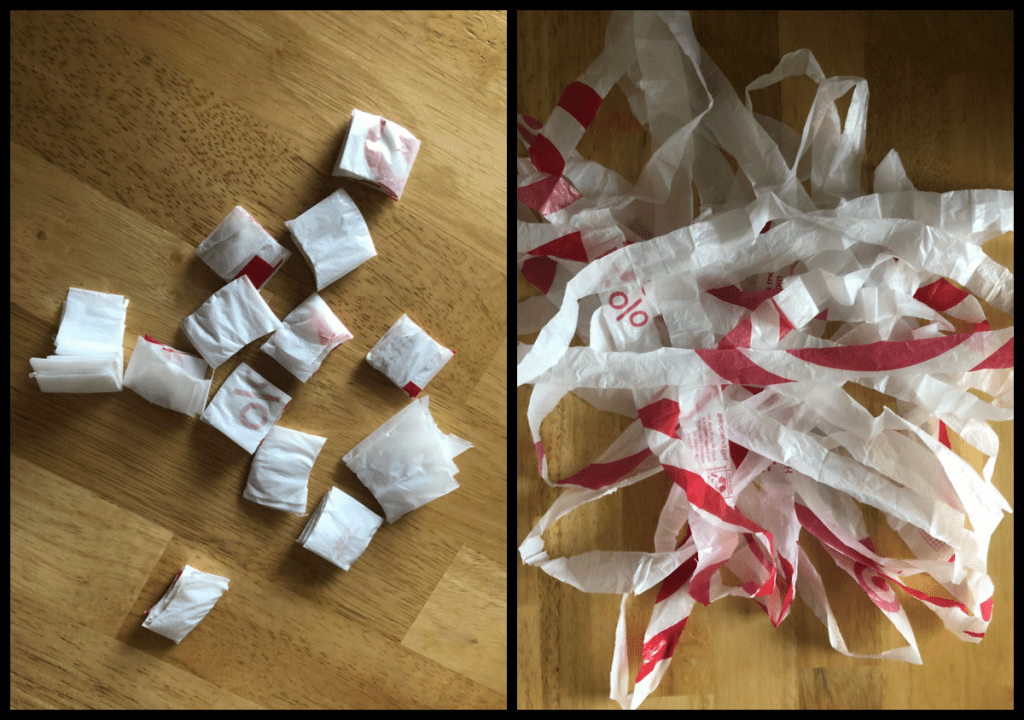
This one starts off like the first one, but instead of cutting the bag into one long fringed piece, cut all the way through. You’ll get a bunch of individual loops. Now, thread them all through each other and pull taught — without breaking the plastic, of course.
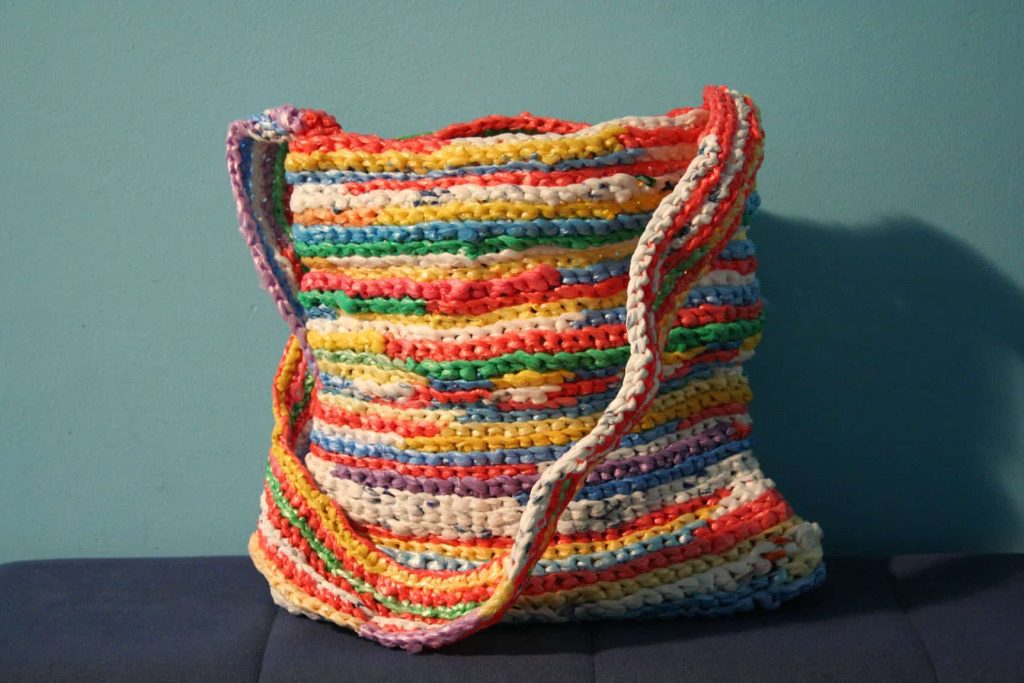
Now, all that’s left is to get your knitting needles!